When it comes to interior painting Southampton, preparing your home properly is essential for a successful and long-lasting result. A well-prepared space not only makes the painting process smoother but also ensures a beautiful finish that can transform the look and feel of your home. Whether you’re planning a DIY project or hiring professionals, taking the time to prepare your home will make a significant difference.
We will tell you the necessary steps to get your home ready for painting. From choosing the right paint and tools to clearing and cleaning the space, each step is important to achieving a professional-quality finish. You’ll also learn about priming the walls, painting techniques, and adding those final touches to ensure a flawless result.
With over 15 years of experience in the painting industry, Pastilles Painting and Decorating understands the importance of proper preparation. Our team of experts is dedicated to providing top-notch service to homeowners in Southampton. Follow our comprehensive guide to prepare your home for interior painting and enjoy the satisfaction of a beautifully painted space that reflects your personal style and enhances your home’s overall appeal.
Choosing the Right Paint and Tools
Before starting your interior painting Southampton project, selecting the right paint and tools is crucial for a successful outcome. Here’s a straightforward guide to help you make the best choices:
Selecting the Right Paint:
- Types of Paint: Different rooms have different needs. For example, moisture-resistant paint is ideal for kitchens and bathrooms, while standard interior paint works well in living rooms and bedrooms.
- Finishes: Paint comes in various finishes, such as matte, satin, and gloss. Matte finishes hide imperfections well and are great for ceilings and low-traffic areas. Satin and gloss finishes are more durable and easier to clean, making them suitable for high-traffic areas and trim.
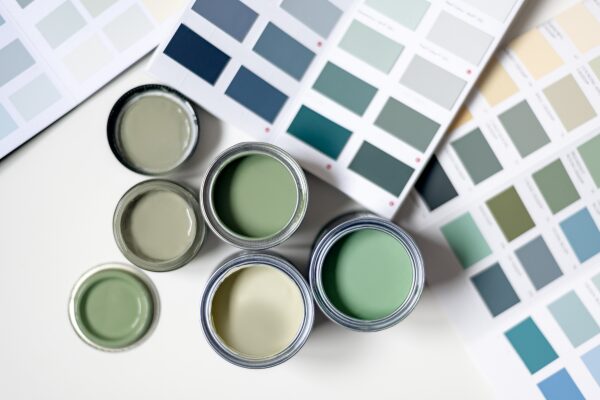
- Colour Choices: Consider the mood you want to create in each room. Light colours can make a space feel larger and brighter, while dark colours add warmth and cosiness. It’s a good idea to test paint samples on your walls to see how they look under different lighting conditions throughout the day.
Picking the Right Tools:
- Brushes and Rollers: High-quality brushes and rollers make a big difference. Use angled brushes for cutting in around edges and corners, and rollers for covering large areas. Foam rollers are excellent for smooth surfaces, while thicker nap rollers work well on textured walls.
- Painter’s Tape: This is essential for protecting trim, windows, and other areas you don’t want to paint. Choose a good-quality tape that will stick well but won’t damage surfaces when removed.
- Drop Cloths: Protect your floors and furniture with drop cloths or plastic sheets. Canvas drop cloths are more durable and reusable, while plastic ones are cheaper but can be slippery.
- Paint Trays and Liners: Use a sturdy paint tray with disposable liners for easy clean-up. This helps keep your colours pure and makes switching between different paints quicker.
Calculating the Amount of Paint Needed:
- Measure Your Walls: Calculate the square footage of your walls by multiplying the height by the width of each wall. Add the totals together to get the overall square footage.
- Coverage Information: Most paint cans provide coverage information, typically expressed in square feet per litre. Divide your total wall square footage by the coverage rate to determine how many litres of paint you need. It’s wise to buy a little extra to account for touch-ups and future maintenance.
Preparing Your Home for Interior Painting
Properly preparing your home is a crucial step in ensuring a smooth and successful interior painting Southampton project. Here’s how to get your space ready:
Clearing the Room:
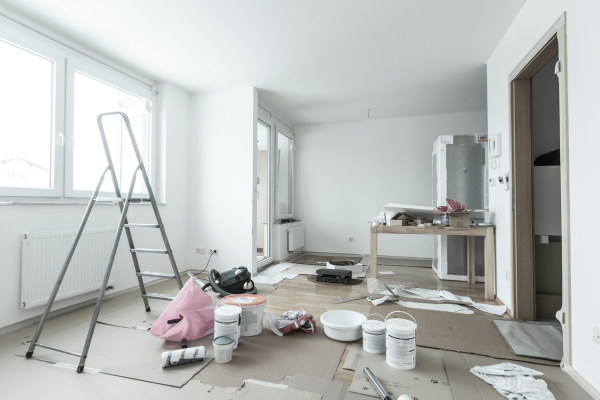
- Remove Furniture and Decorations: Start by taking out as much furniture and decor as possible. This includes sofas, tables, chairs, pictures, mirrors, curtains, and rugs. Moving these items not only prevents damage but also gives you more space to work.
- Cover Remaining Items: If you can’t remove some large pieces of furniture, move them to the centre of the room and cover them with plastic sheets or drop cloths to protect them from paint splatters.
Cleaning the Walls:
- Dust and Vacuum: Dust and dirt can prevent paint from adhering properly. Use a vacuum cleaner with a brush attachment to remove dust from walls, baseboards, and corners.
- Wash the Walls: Wash the walls with a mild detergent solution to remove grime and stains. Rinse with clean water and let the walls dry completely. Clean walls provide a better surface for the paint to stick to and ensure a smoother finish.
Repairing Wall Imperfections:
- Fill Holes and Cracks: Inspect the walls for any holes, cracks, or dents. Use a filler to repair these imperfections. Apply the filler with a putty knife, let it dry, and then sand it down until smooth.
- Sanding: Lightly sand the entire wall surface to remove any rough spots or old paint drips. This step is essential for creating an even surface for the new paint. Wipe away any sanding dust with a damp cloth.
Protecting Floors and Fixtures:
- Use Drop Cloths: Cover the floor with drop cloths or old sheets to protect it from paint drips and spills. Make sure the cloths are spread out evenly and securely taped down to prevent tripping.
- Tape Off Trim and Fixtures: Use painter’s tape to cover baseboards, window frames, door handles, and any other fixtures you don’t want to paint. Be precise with the tape to ensure clean, sharp lines.
Removing Electrical Covers:
- Switch Plates and Outlet Covers: Unscrew and remove switch plates and outlet covers. This makes it easier to paint around these areas and results in a cleaner finish. Keep the screws and covers in a safe place so you can easily reattach them later.
Ventilating the Room:
- Open Windows and Doors: Good ventilation helps the paint dry faster and reduces fumes. Open windows and doors to allow fresh air to circulate. Using fans can also help improve air flow and speed up the drying process.
Priming and Painting Techniques
Once your home is properly prepared, the next steps in your interior painting Southampton project involve priming the walls and applying paint using effective techniques. Here’s a simple guide to get you started:
Priming the Walls:
- Why Primer is Important: Primer helps paint adhere better to the surface, provides a uniform base for the topcoat, and can help cover stains and dark colours. It’s especially important for new drywall, previously unpainted surfaces, and areas that have been repaired.
- Choosing the Right Primer: Select a primer that suits your wall type. For instance, use a stain-blocking primer for walls with water damage or smoke stains. For darker colours, a tinted primer can help reduce the number of paint coats needed.
- Application: Apply primer with a roller for large areas and a brush for edges and corners. Start at the top and work your way down, ensuring even coverage. Allow the primer to dry completely according to the manufacturer’s instructions before painting.
Painting Techniques:
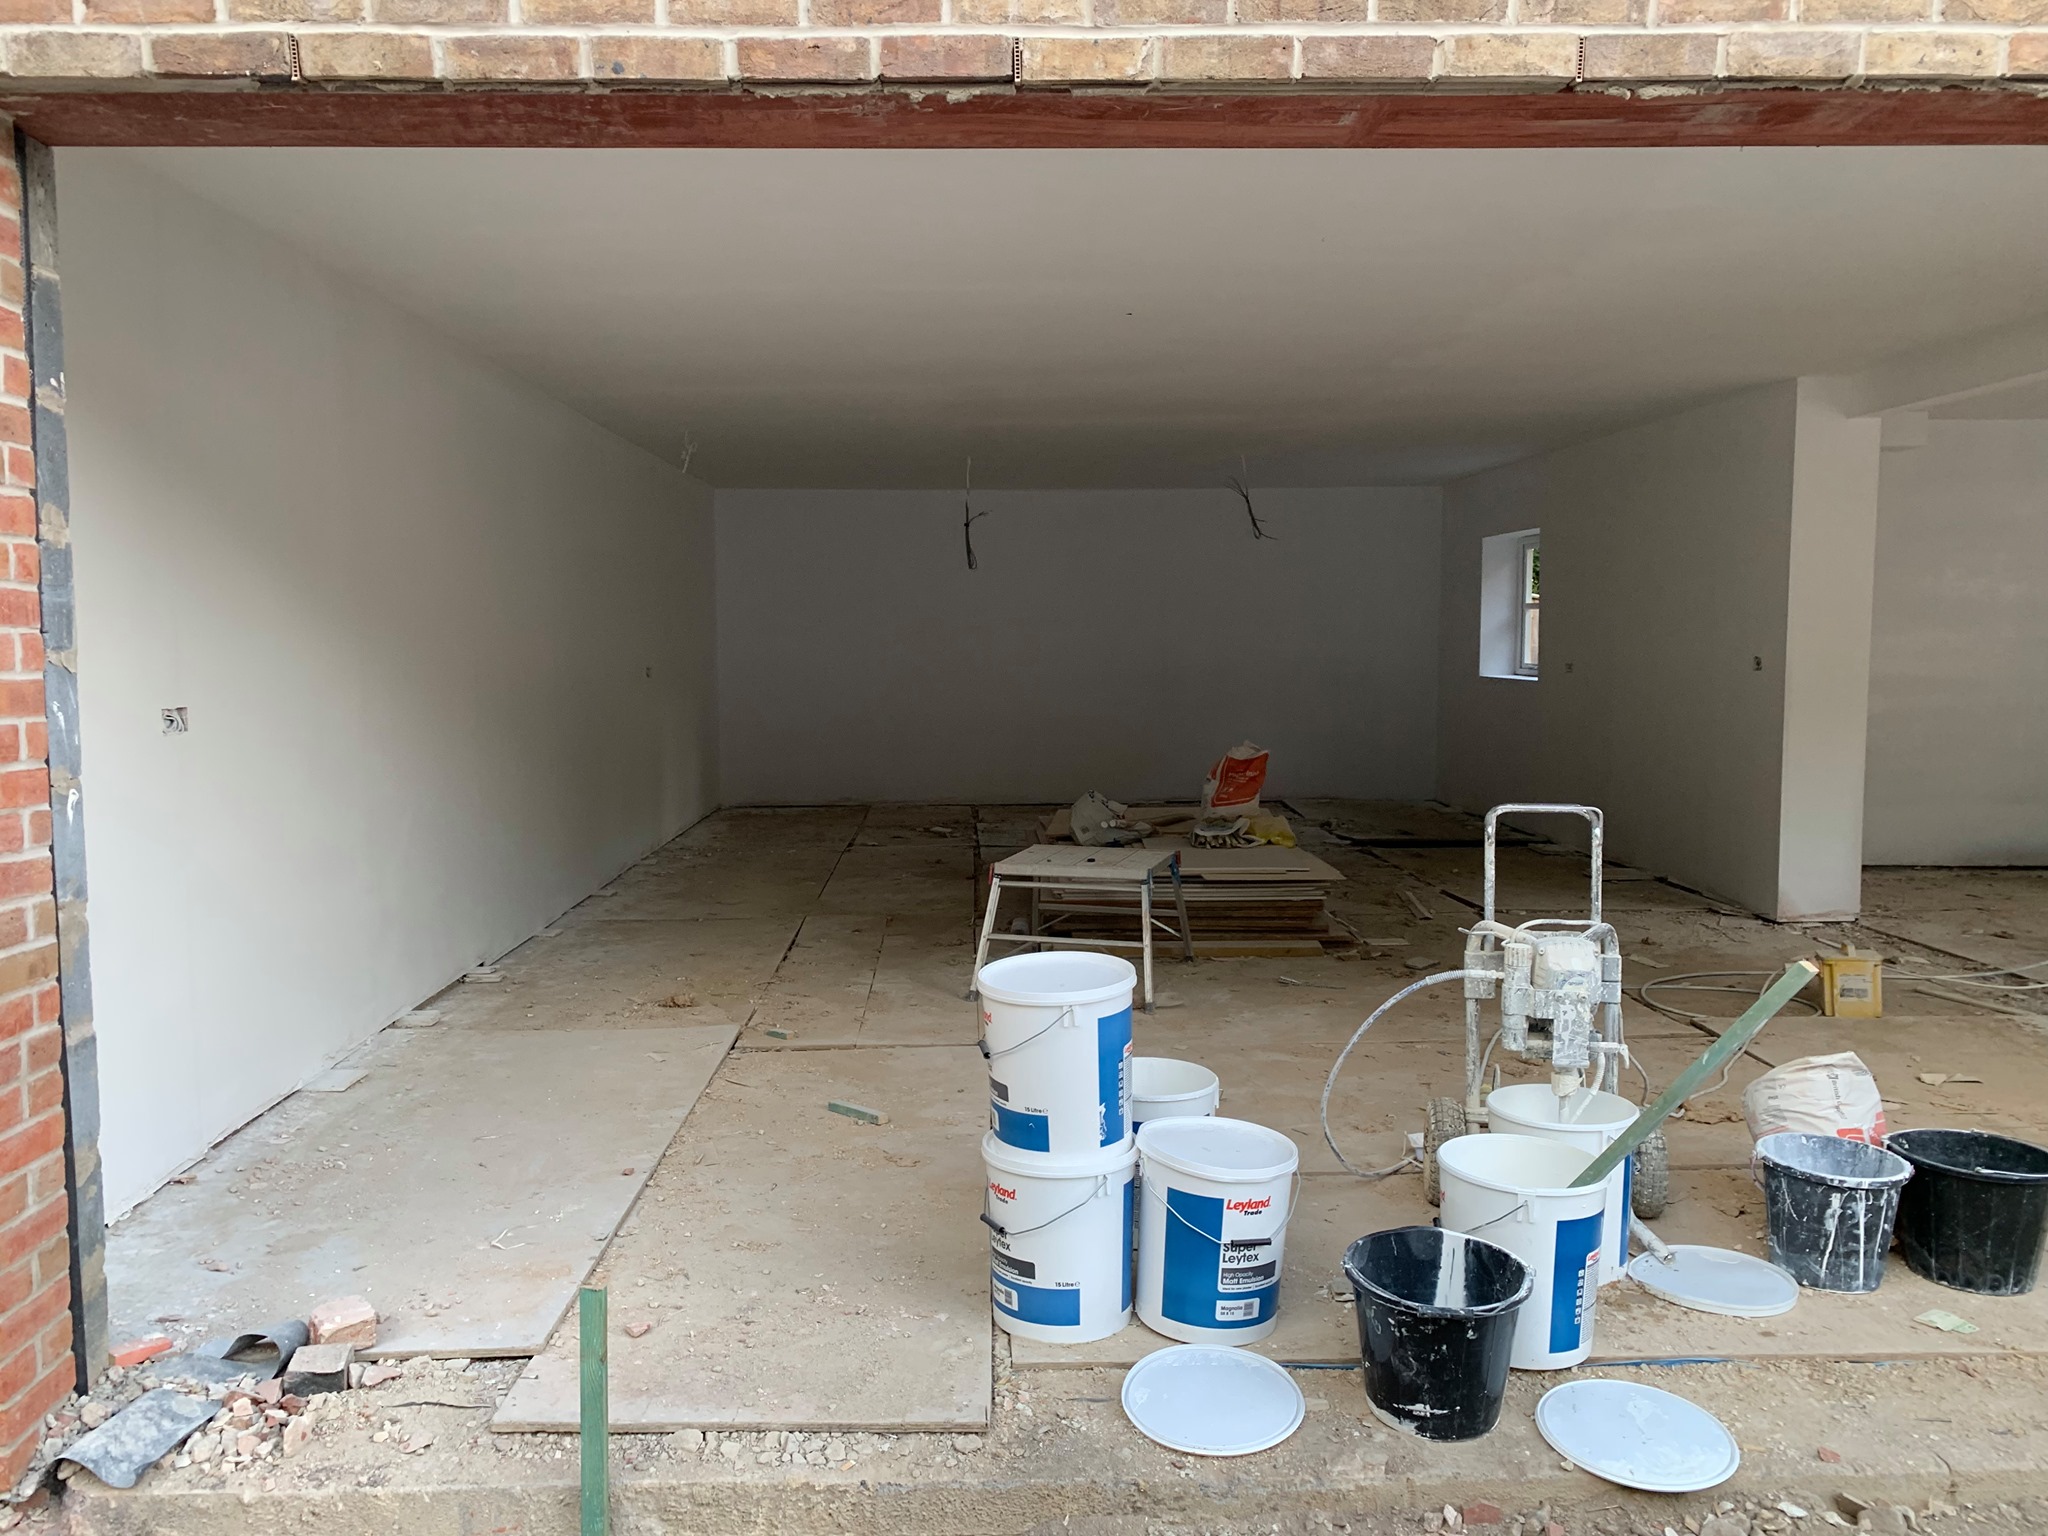
- Cutting In: This technique involves painting the edges and corners of walls with a brush before using a roller. Cut in around the ceiling, baseboards, windows, and doors. This helps create a clean edge and prevents the roller from getting too close to these areas.
- Brush Choice: Use a high-quality, angled brush for cutting in. Dip the brush into the paint, covering only about a third of the bristles.
- Technique: Hold the brush at an angle and carefully paint along the edges, using steady, smooth strokes.
- Rolling the Walls:
- Loading the Roller: Pour paint into a tray and load the roller evenly. Roll it back and forth in the tray to distribute the paint and remove excess.
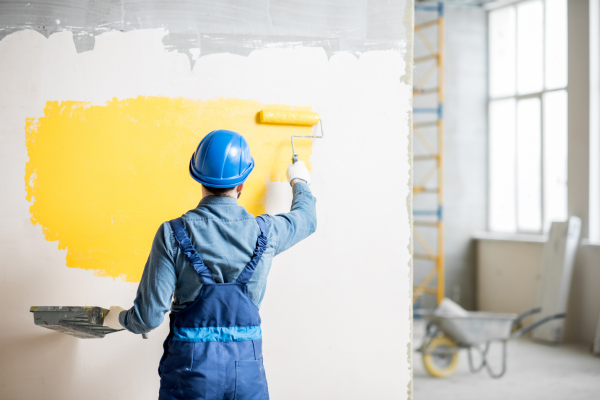
- Application: Start rolling the paint onto the wall in a “W” or “M” pattern. Fill in the gaps with horizontal or vertical strokes, maintaining a wet edge to avoid visible lines.
- Coverage: Apply multiple thin coats rather than one thick coat. This helps achieve a smooth finish and reduces the risk of drips and streaks. Allow each coat to dry before applying the next.
Finishing Touches:
- Final Coat: Once the main coats of paint are dry, inspect the walls for any missed spots or uneven areas. Touch up these areas with a brush or roller.
- Remove Tape and Drop Cloths: Carefully remove painter’s tape while the final coat is still slightly wet to prevent peeling. Remove drop cloths and clean up any spills or splatters immediately.
- Reattach Covers and Hardware: Once the paint is completely dry, reattach switch plates, outlet covers, and any other hardware you removed during preparation.
Painting Techniques for a Professional Finish
Achieving a professional finish in your interior painting Southampton project is all about using the right techniques. Here are some practical tips and methods to help you paint like a pro:
Cutting In:
- What It Is: Cutting in involves painting the edges and corners of walls where rollers can’t reach. This technique ensures clean lines around trim, ceilings, and other fixtures.
- How to Do It: Use a high-quality angled brush. Dip just the tip of the brush into the paint, then tap off excess. Start at the edge and carefully paint a straight line, using steady, controlled strokes. Move slowly to avoid mistakes and achieve a clean edge.
Using Rollers:
- Loading the Roller: Pour paint into a tray and load the roller by rolling it back and forth until it is evenly coated. Avoid overloading the roller to prevent drips.
- Applying the Paint: Use a “W” or “M” pattern to apply paint in sections, then fill in the gaps with horizontal or vertical strokes. This method helps distribute the paint evenly and prevents streaks.
- Maintaining a Wet Edge: Always keep a wet edge when painting. This means you should overlap slightly into the previously painted section while the paint is still wet. This technique helps avoid visible lines and ensures a smooth finish.
Brush Techniques:
- Proper Grip: Hold the brush like a pencil for better control. This helps you apply even pressure and achieve smooth strokes.
- Brushing Technique: Apply paint with the brush using light, even strokes. Brush from dry to wet areas to blend the paint seamlessly. Avoid pressing too hard, which can leave brush marks.
Layering Paint Coats:
- Thin Layers: Apply multiple thin coats of paint rather than one thick coat. Thin layers dry faster, reduce the risk of drips, and result in a smoother finish.
- Drying Time: Allow each coat to dry fully before applying the next. Follow the paint manufacturer’s recommendations for drying times. Rushing this process can lead to peeling and an uneven finish.
Dealing with Drips and Mistakes:
- Drips: If you notice a drip, use a damp brush or roller to smooth it out while it’s still wet. For dried drips, sand the area lightly and repaint.
- Mistakes: Keep a damp cloth or sponge handy to quickly wipe away mistakes. If paint has already dried, sand the area smooth and touch up with a small brush.
Blending and Feathering:
- Blending: When painting larger areas, blend the edges by lightly rolling over them with a dry roller. This technique helps merge the new paint with the existing layer seamlessly.
- Feathering: Use feathering strokes to fade out the paint near the edges of sections. This prevents harsh lines and helps create a uniform look.
Final Touches:
- Touch-Ups: After the paint has dried, inspect the walls for any missed spots or uneven areas. Use a small brush to touch up these areas for a flawless finish.
- Removing Tape: Remove painter’s tape carefully while the paint is still slightly wet. This prevents peeling and ensures sharp lines.
Final Touches and Clean-Up For a Interior Painting Southampton Paint Job
Completing your interior painting in Southampton project with final touches and thorough clean-up is essential for a professional finish. Here’s how to wrap up your painting job effectively:
Final Touches:
- Inspect the Work: Carefully examine your painted walls for any missed spots, streaks, or uneven areas. Use good lighting to ensure you don’t overlook anything.
- Touch-Up Paint: Keep a small brush handy for touch-ups. Dip it lightly into the paint and carefully cover any imperfections. Blend the touch-up paint with the surrounding area to ensure a seamless look.
- Remove Painter’s Tape: Remove painter’s tape while the paint is still slightly damp to avoid peeling. Pull the tape off slowly and at a 45-degree angle to ensure clean lines.
- Reattach Fixtures: Once the paint is fully dry, reattach any fixtures, outlet covers, and switch plates that you removed during the preparation phase. Ensure they are securely fastened and free from paint drips.
Clean-Up:
- Cleaning Brushes and Rollers: Clean your brushes and rollers immediately after use to prolong their life. Use warm soapy water for water-based paints and paint thinner or mineral spirits for oil-based paints. Rinse them thoroughly and let them dry completely before storing.
- Disposing of Paint Properly: Dispose of any unused paint responsibly. Check your local regulations for the proper disposal method. Many communities have special facilities for hazardous waste disposal.
- Storing Leftover Paint: If you have leftover paint, seal the cans tightly and store them in a cool, dry place. Label the cans with the paint colour and room it was used in for future touch-ups.
- Cleaning the Area: Remove drop cloths and protectors carefully to avoid spreading any paint splatters. Vacuum or sweep the area to remove dust and debris. Wipe down any surfaces that may have gotten dirty during the painting process.
Pastilles For Your Interior Painting In Southampton!
Completing your interior painting Southampton project with attention to detail ensures a beautiful, long-lasting finish. However, achieving a truly professional result can be challenging. That’s where Pastilles Painting and Decorating comes in. With our experienced team, top-quality materials, and dedication to customer satisfaction, we guarantee a flawless finish every time. Whether you’re painting a single room or your entire home, we have the expertise to transform your space.
Ready to give your home a fresh, new look? Contact Pastilles Painting and Decorating today for a free consultation. Let us handle your painting project with the professionalism and care it deserves.
